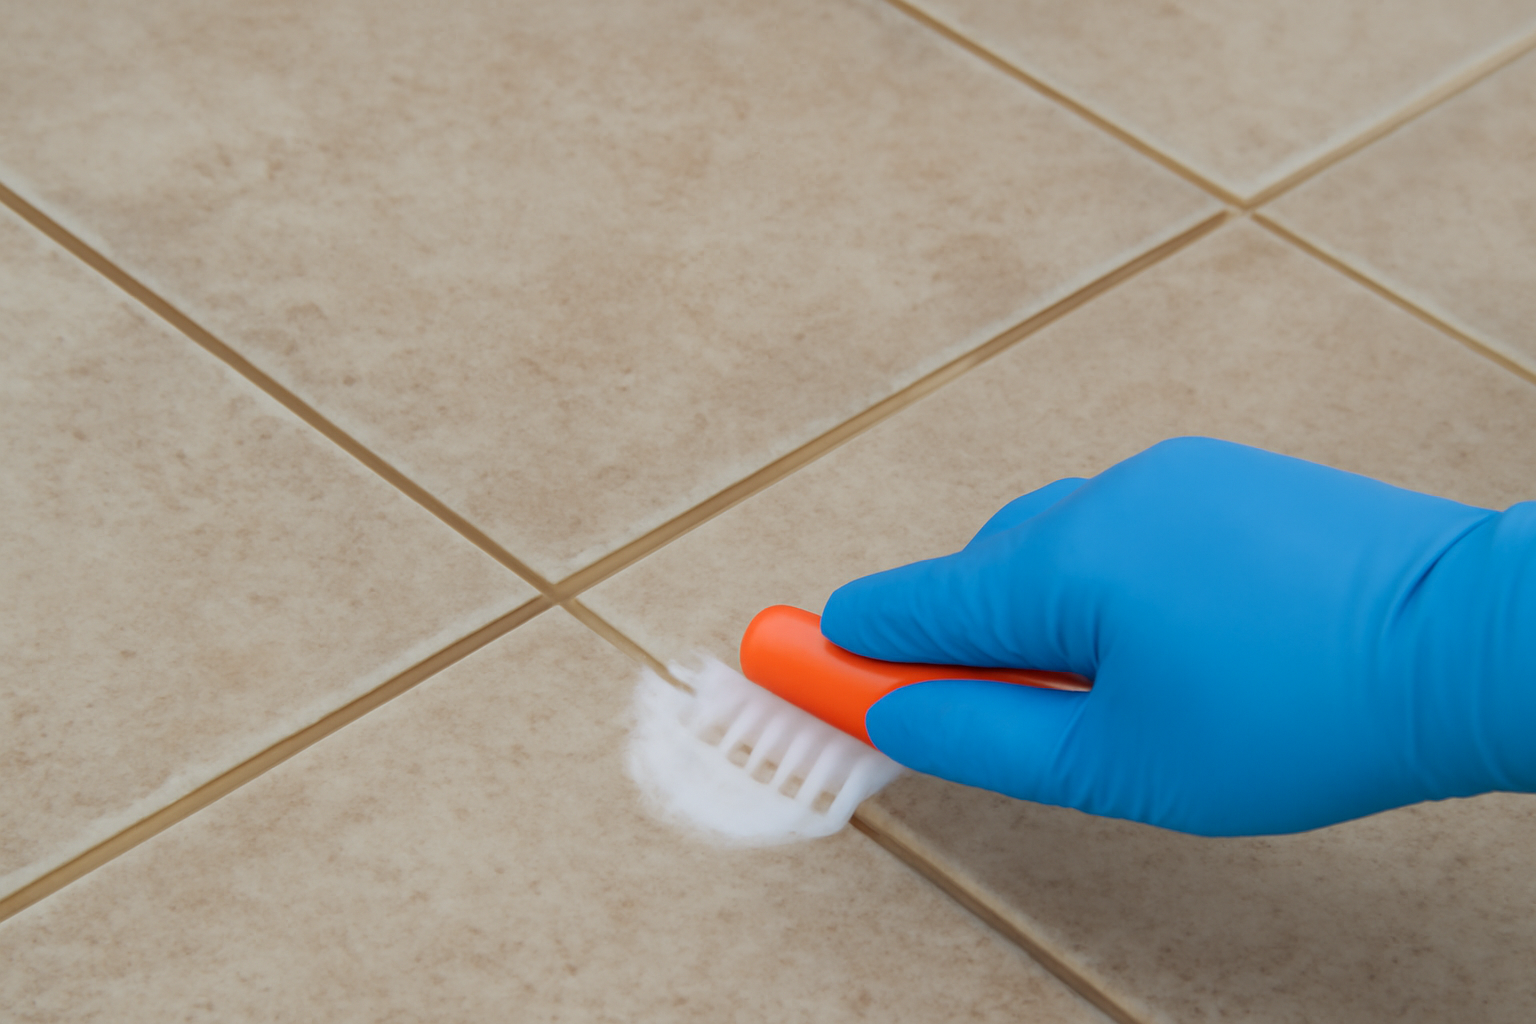
If you’re like me, you know that keeping your home clean can be tough, especially when dealing with dried pee in grout lines. Grout is tricky because it can easily absorb liquids, and once pee dries, it can leave stains and odors behind. As the owner of Gloria Cleaning, I’ve cleaned my fair share of tough stains, and I’m here to share the best way to clean dry pee out of grout lines. Let’s get started!
Why Is Cleaning Dry Pee from Grout So Hard?
Grout is a material with tiny holes that can soak up liquids, which is why urine can be so hard to remove. When pee dries, it sinks into the grout and leaves behind both a stain and a smell. The nature of grout makes it tough for regular cleaning products to remove the stain completely.
What You’ll Need to Clean Dry Pee from Grout Lines
Before you start cleaning, gather the right tools. Here’s what you’ll need:
Baking Soda: It’s a great cleaner and helps get rid of odors.
White Vinegar: This is a natural cleaner that can help break down the pee stain.
Hydrogen Peroxide (3%): A mild bleach that works well to clean stains.
Scrub Brush or Toothbrush: To scrub the grout lines.
Microfiber Cloths: To wipe everything down at the end.
Rubber Gloves: To protect your hands from harsh cleaners.
Step-by-Step Guide: How to Clean Dry Pee Out of Grout Lines
1. Dry the Area
The first thing you need to do is make sure the area is dry. If the pee is still wet, it’s easier to clean. But if it’s already dry, don’t worry! The following steps will help remove it.
2. Make a Cleaning Solution
Mix equal parts white vinegar and water in a spray bottle. Vinegar is a great cleaner and will help break down the pee and neutralize any bad smells.
3. Spray the Solution
Spray the vinegar and water mixture directly on the grout lines. Let it sit for about 5-10 minutes so it can loosen the stain.
4. Scrub the Grout
After the solution has had time to sit, grab your scrub brush or toothbrush and scrub the grout lines gently. Scrub in small circles to really clean the area. If the stain is tough, you can spray a little more vinegar solution.
5. Use Baking Soda for Extra Cleaning Power
Once you’ve scrubbed the grout, sprinkle baking soda on top. Baking soda helps to lift stains and will help get rid of the odor.
6. Apply Hydrogen Peroxide (Optional)
For really tough stains, you can add a little hydrogen peroxide over the baking soda and grout. It helps remove stains and can even whiten the grout.
7. Let the Mixture Sit
Let the mixture sit for about 10-15 minutes. You’ll notice some fizzing and bubbling, which means the solution is working to clean the grout.
8. Scrub Again
After the mixture has sat, scrub the area again with your brush. You should see the stain disappearing and the grout looking cleaner.
9. Rinse and Dry
Rinse the area with clean water to get rid of any leftover cleaning solution. Use a microfiber cloth to dry the area thoroughly. This step is important to prevent any moisture from soaking back into the grout.
How to Stop Future Stains and Odors
Now that you’ve cleaned the dry pee out of your grout, you’ll want to keep it clean in the future. Regularly clean your grout with a mild cleaner to keep it in good shape. You can also use a grout sealer to help protect it from stains and liquids.
If you have pee stains in high-traffic areas like your bathroom or kitchen, consider cleaning your grout lines every few weeks to keep odors away.
Why Choose Gloria Cleaning for Your Grout Cleaning Needs?
At Gloria Cleaning, we know how to tackle tough stains like dried pee in grout lines. We use safe, eco-friendly products to make your home clean and fresh. If you don’t have time to clean your grout or if the stains are too tough to handle, we’re here to help. Contact us, and we’ll take care of it for you!
For More Tips on Cleaning
For more cleaning tips, check out this article from the National Center for Healthy Housing. It talks about how to keep your home healthy and clean.
Conclusion
Cleaning dry pee out of grout lines may seem like a difficult task, but it’s totally doable with the right tools and techniques. By following these steps, you can keep your grout looking clean and fresh. And if you ever need help, Gloria Cleaning is just a call away. We’re here to make your life easier and your home cleaner!
Gloria Cleaningunderstand the growing importance of sustainability and the environment. That’s why we’ve committed to green cleaning practices that benefit not just your business, but also the planet. We prefer working with companies that prioritize the environment, and we proudly stand by this value. We are committed to reducing waste, conserving energy, and using products that protect the environment.
We use biodegradable commercial cleaning service that are safe for both your space and the Earth. Our products break down naturally, leaving no harmful residues behind. We also focus on reducing waste by using reusable cloths and eco-friendly packaging. When it comes to equipment, we invest in energy-efficient tools that reduce our carbon footprint while still delivering top-notch cleaning results.
Additionally, we are proud to be partnered with eco-conscious brands that support our mission. Our cleaning solutions are certified by respected organizations, which verify our commitment to sustainable practices.
Our Pricing Structure and Customizable Plans
We offer professional commercial cleaning services should be high-quality and affordable.
We provide personalized service based on:
The size of your space
The frequency of cleaning needed
Whether you need one-time deep clean we’ll work with you to design a plan that fits your budget.
For businesses with:
Long-term contracts
Larger spaces
We offer volume discounts to help you save more while still enjoying exceptional cleaning services.
Trusted Partnerships for Top-Notch Commercial Cleaning Service
We’re proud to offer a combination of eco-friendly practices, flexible pricing, and advanced technology to make sure your commercial space is clean, safe, and environmentally responsible.
Gloria Cleaning is committed to quality and professionalism, evident in our credentials.
We hold certifications from well-regarded organizations, confirming our adherence to industry best practices and outstanding service.
We are members of local business associations, connecting us with trusted eco-friendly product manufacturers.
Our cleaning practices exceed industry standards, ensuring top-notch service.
Our team is highly trained and stays up-to-date with the latest cleaning techniques and technologies.
We deliver the best results every time through our ongoing professional development.
Contact us today to learn more about how we can help your business thrive while keeping the planet in mind.
Smart Cleaning Technology for a Healthier Environment
Gloria Cleaning always looking for ways to improve the cleaning experience for our clients. That’s why we use innovative cleaning technology to deliver the best results possible. For example, we utilize UV sanitization tools that help eliminate germs and bacteria, creating a safer environment for your staff and clients.
We also use air purification systems to ensure that every corner of your space is thoroughly cleaned and refreshed. With these cutting-edge technologies, we not only improve the efficiency of our services but also ensure the highest standards of cleanliness.
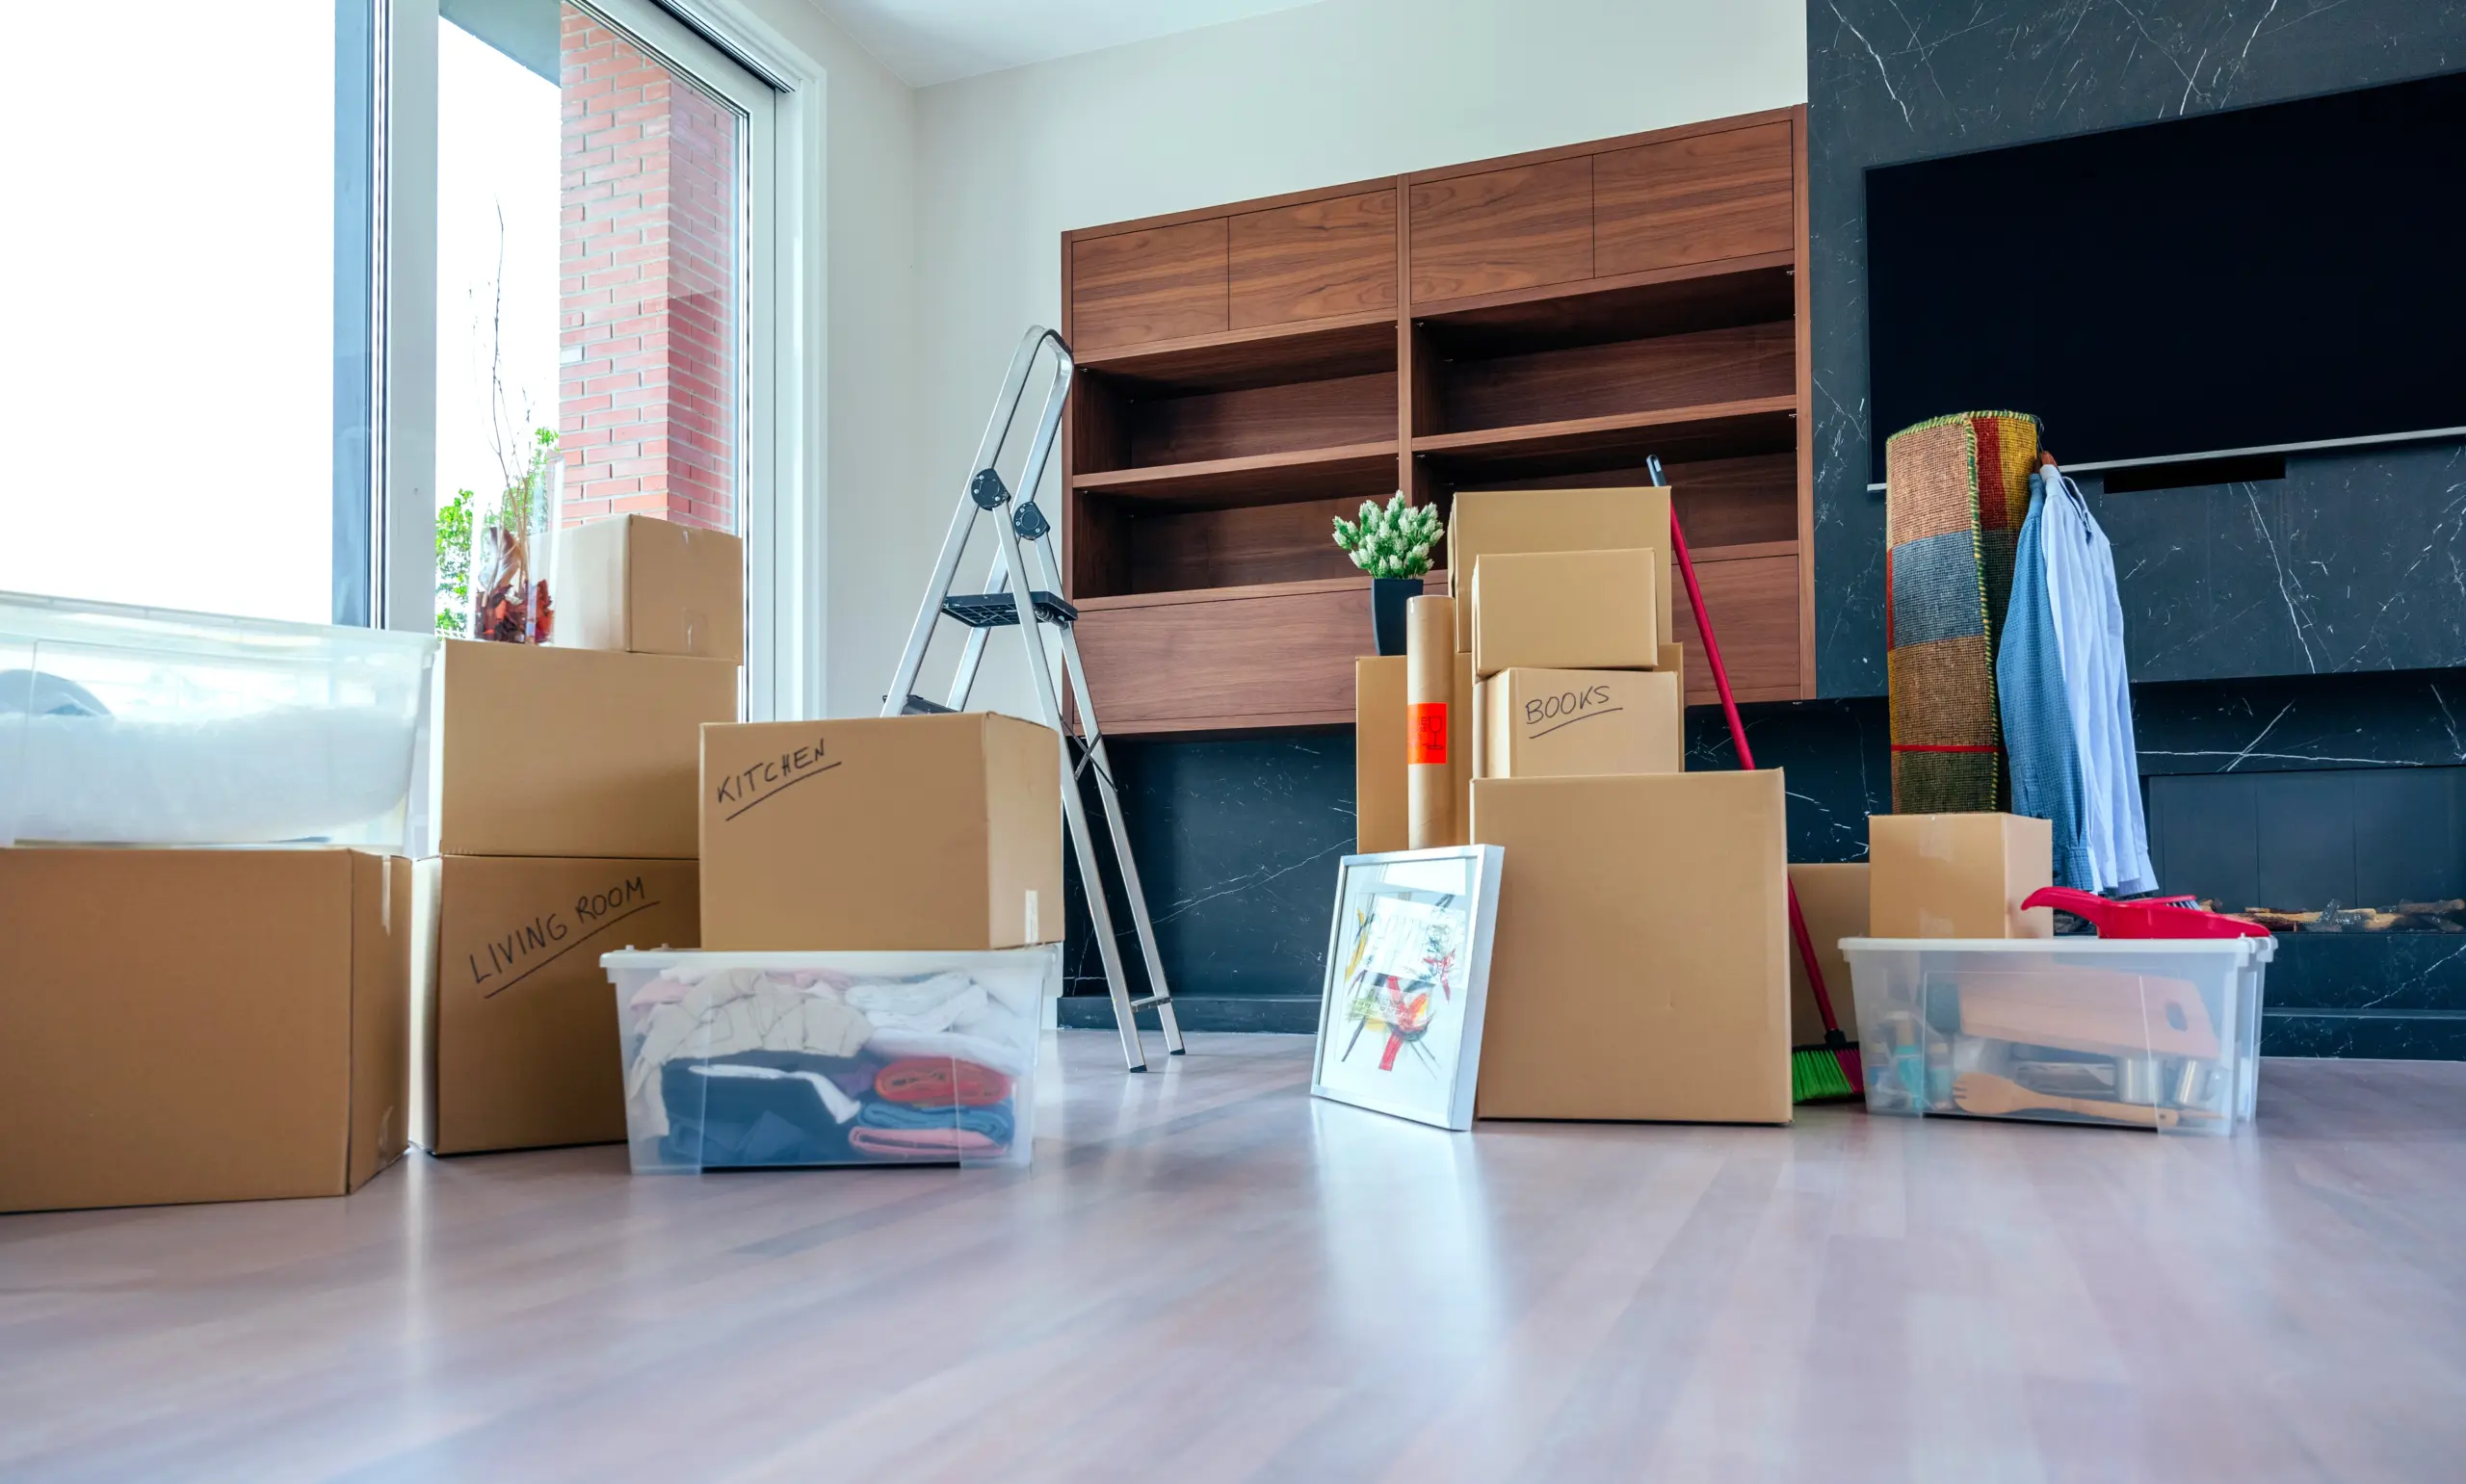
Whether you’re preparing to move into a new home or preparing to leave your old one, cleaning is an essential task. Move-in and move-out cleaning services are designed to make the transition smoother, ensuring the property is spotless and ready for new occupants. Here’s what you need to know about these services, what’s included, and why they’re a valuable part of the moving process.
Move-in and Move-out Cleaning Services Include
When you hire a professional cleaning service for your move-in or move-out, you can expect a thorough and detailed cleaning. Here’s what’s typically covered:
Wiping down all surfaces, including countertops, cabinets, and appliances.
Cleaning the inside of the oven, microwave, and refrigerator.
Disinfecting sinks, taps, and the dishwasher.
Bathroom Cleaning
Scrubbing the bathtub, shower, sink, and toilet.
Cleaning mirrors, light fixtures, and exhaust fans.
Wiping down all surfaces, including counters and shelves.
Living and Sleeping Areas
Vacuuming or sweeping floors.
Dusting all surfaces, including baseboards, windowsills, and light fixtures.
Cleaning windows and glass doors.
Deep Cleaning
Wiping down all doors and walls.
Cleaning any built-in shelves or cabinets.
Removing cobwebs and dust from all corners.
Flooring
Vacuuming carpets, mopping tile or hardwood floors.
Gloria Cleaning clean your property looks brand new and welcoming, whether you are moving in or moving out.
Move-out and Move-in Cleaning Coordination
Coordinating move-in or move-out cleaning is an important part of the process. Often, you’ll want the cleaning to occur after furniture and personal items have been moved out but before new tenants or homeowners arrive. If you’re moving into a home, scheduling the cleaning before you unpack is ideal to make sure everything is spotless before you settle in.
For move-out cleaning, it’s important to coordinate with your landlord or property management company to ensure the cleaning meets their standards for getting your security deposit back. This cleaning also helps with the property’s appeal for new tenants, making it easier for everyone involved.
The Value of Professional Moving Cleaning
Hiring a professional cleaning service for move-in or move-out cleaning saves you time and effort. It’s easy to miss spots when cleaning, especially after a busy moving process. A professional cleaning crew ensures that no detail is overlooked, providing a deep clean that makes the property feel fresh and welcoming.
Additionally, professional cleaners have the right tools and experience to clean more efficiently and thoroughly than you might be able to on your own. This is particularly helpful if you’re dealing with tough stains, grime buildup, or spaces that require more specialized attention.
Property Management Companies and Landlords Love Our Moving Cleaning Services
Property management companies and landlords highly value move-in and move-out cleaning services. A clean property enhances its appeal, making it easier to rent or sell. For landlords, it’s essential to provide a clean environment for new tenants, ensuring they feel comfortable and satisfied from day one.
Moreover, clean properties help reduce the risk of disputes over security deposits, as landlords can ensure the place is spotless when new tenants arrive.
Cleaning appliances, including the oven, fridge, and dishwasher.
The goal is to return the property to its original, clean state to ensure it is ready for the next occupants.
What Is Included in a Move-out Cleaning?
A move-out cleaning includes tasks such as:
Dusting all rooms and furniture.
Cleaning all appliances and wiping down surfaces.
Vacuuming or mopping all floors.
Washing windows and doors.
Removing any trash or debris left behind.
The idea is to make the space look and feel brand new, ensuring that it meets the standards required by landlords or property managers.
What’s Included in a Move-in Cleaning?
A move-in cleaning is similar to a move-out cleaning, but the focus is on preparing the home for the new owner or tenant. It includes:
Thoroughly cleaning the kitchen, bathrooms, and living spaces.
Vacuuming and mopping all floors.
Wiping down baseboards, doors, and windowsills.
Ensuring that all appliances are clean and ready to use.
This ensures you have a fresh, clean start in your new home, giving you peace of mind as you begin to settle in.
Conclusion
Move-in and move-out cleaning services are a smart and convenient way to ensure that the property you’re leaving or entering is clean and ready for the next chapter. Whether you’re a homeowner, renter, or landlord, investing in professional cleaning services will save time, effort, and help keep everything looking great. A thorough cleaning makes the move-in or move-out process smoother, so you can focus on settling into your new space or preparing your old one for its next occupant.
If you’re looking for an easy and natural way to clean and freshen up your home, aeration is a great option! In this post, we’ll explain why aeration is one of the best ways to keep your home clean, healthy, and smelling great.
What Is Aeration?
Aeration means letting fresh air flow into your home. When you open windows or use fans, air moves through the space, helping to get rid of old, stale air and moisture. This is a great way to improve your home’s air quality and make your cleaning more effective.
Why Aeration Is Good for Home Cleaning
Better Air Quality
Aeration helps improve the air in your home. When the air moves, it pushes out dust, allergens, and even bad smells. This is especially helpful for people who have allergies or trouble breathing. When fresh air circulates, it’s easier to breathe and feel good in your home.
Keeps Mold and Mildew Away
Moisture can cause mold and mildew to grow, which can damage your home and make you sick. Aeration helps keep humidity levels down, so mold doesn’t have a chance to grow. If you need help with mold, check out our Mold Removal Services.
Speeds Up Drying Time
After cleaning, it’s important to dry things properly. Aeration speeds up this process by helping moisture dry faster. Whether you’re cleaning carpets, washing the floor, or wiping down surfaces, moving air helps everything dry quicker and prevents damage from water.
Gets Rid of Bad Smells
Sometimes, even after cleaning, bad smells can stay in your home. Aeration helps to remove those smells by letting fresh air in. By opening windows, using fans, or running air purifiers, you can quickly get rid of any unwanted odors. For pet odors, check out our Pet Odor Removal Services.
Saves Money and Is Eco-Friendly
Aeration is free and doesn’t require any extra products. All you need is fresh air, which makes it a cheap and eco-friendly way to clean your home. You won’t have to worry about using chemicals that can harm the environment or your family.
How to Use Aeration for Cleaning
Open Windows and Doors: Let the fresh air in! Opening windows and doors helps the air move around your home and clean out the old air.
Use Fans: Place fans in different rooms to help the air circulate and dry wet surfaces faster.
Get Air Purifiers: If your home doesn’t have much airflow, air purifiers can help clean the air by getting rid of dust, allergens, and bacteria.
Dry Wet Areas: After cleaning, leave windows or doors open to let moisture evaporate quickly. This is especially important in bathrooms or basements.
Conclusion
Aeration is an easy and powerful way to keep your home clean and healthy. It improves the air quality, prevents mold, speeds up drying, and helps remove bad smells. We recommend using aeration in your cleaning routine.
Whether you’re cleaning your carpets, washing your kitchen, or just trying to keep your home fresh, aeration makes a big difference. If you want help with cleaning, feel free to reach out to us. Visit our services page for more information.
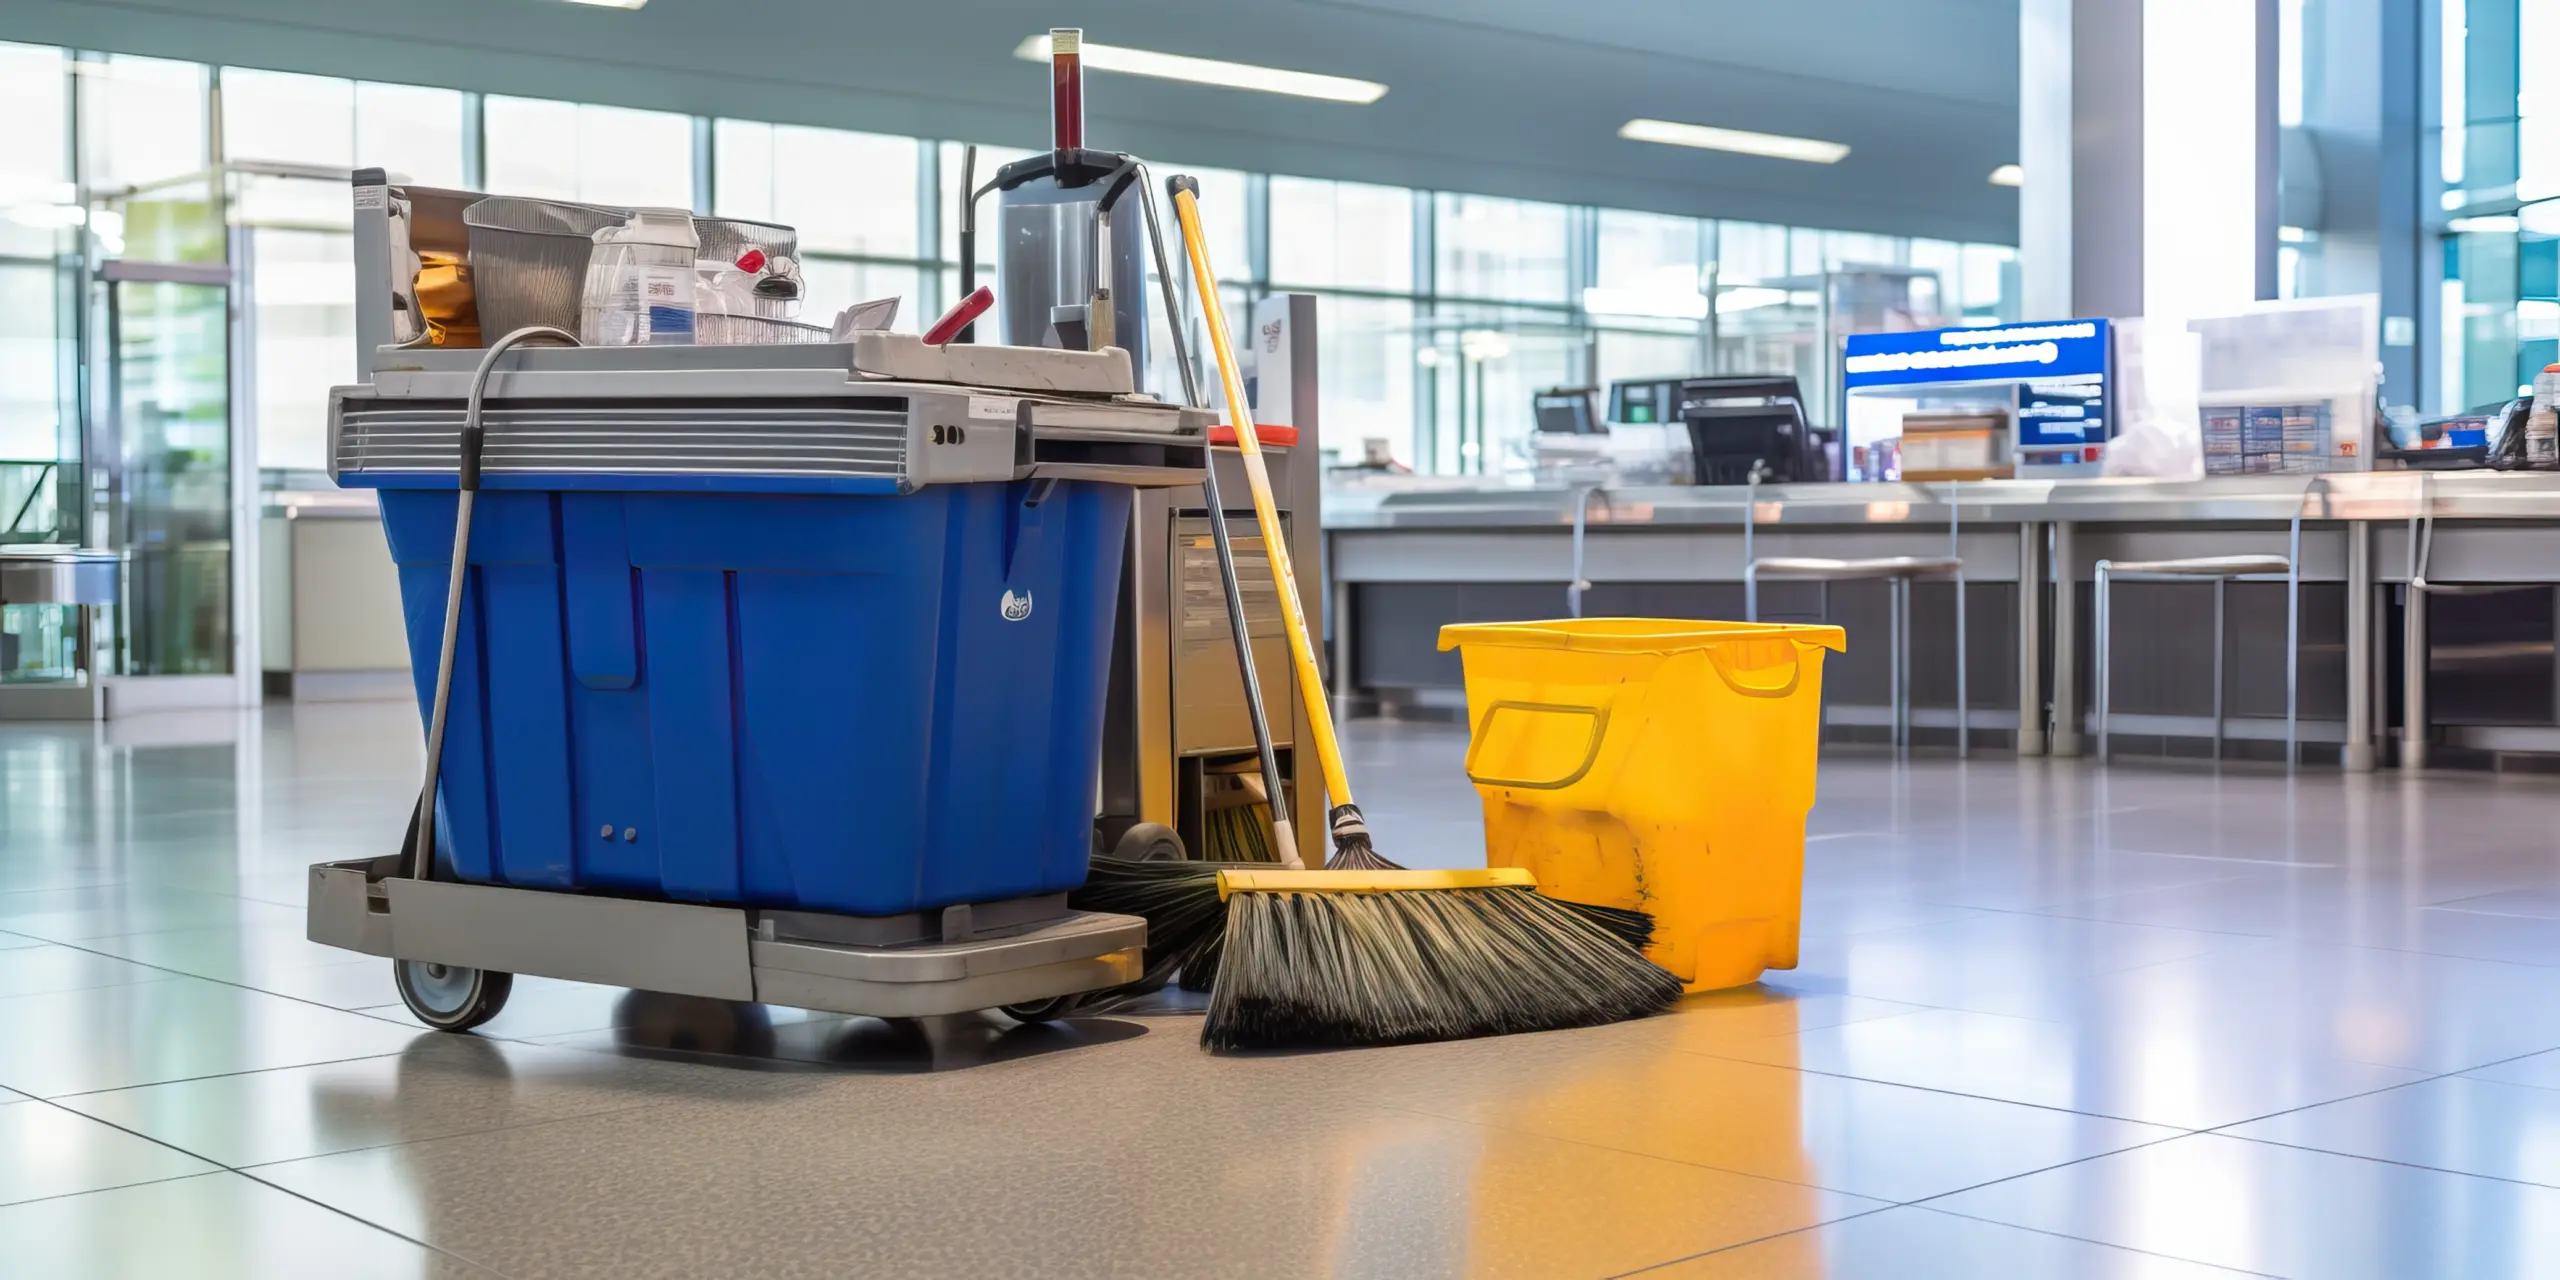
A clean environment makes a big difference, whether you’re running a business, managing a building, or just need help keeping your home spotless. When you choose the Best Janitorial Cleaning Services in Bronx, you’re not just getting a cleaning service—you’re creating a healthier, more welcoming space.
At Gloria Cleaning, we know how important it is to have a clean space. Let me explain why we’re the best choice for all your cleaning needs.
Why Gloria Cleaning is the Best Choice for Janitorial Services
We focus on more than just cleaning—we aim to provide top-quality service every time. Here’s why Gloria Cleaning stands out:
1. Experience You Can Trust
We’ve been in the cleaning business for years, and our team knows how to get the job done right. We use the latest cleaning methods to make sure your space is cleaned thoroughly and effectively every time.
2. Skilled and Professional Cleaners
Our cleaners are experts. They’re trained to use the best products and equipment to clean every corner of your space. Whether it’s your office, a commercial building, or your home, we handle every cleaning task with care and professionalism.
3. Cleaning Plans That Fit Your Needs
We know that every space is different, so we offer cleaning plans that are flexible and fit your specific needs. Whether you need daily cleaning, deep cleaning, or one-time services, we can create a plan that works for you.
4. Eco-Friendly Products
At Gloria Cleaning, we care about the environment. That’s why we use eco-friendly cleaning products that are safe for both you and the planet. You get a clean space without harming the environment.
Why Professional Janitorial Services Matter in Bronx
Maintaining a clean environment is crucial, especially in busy areas like the Bronx. A regular cleaning routine helps keep your space looking great, reduces allergens, and ensures that your building stays up to health and safety standards.
Health and Safety
In today’s world, keeping things clean isn’t just about appearance—it’s about health. Professional janitorial services help reduce the spread of germs and bacteria, creating a safer space for everyone.
Making a Great First Impression
A clean space speaks volumes. Whether you’re a business looking to impress clients or a homeowner hosting guests, having a clean environment makes a lasting impression.
Our Cleaning Services: What We Offer
At Gloria Cleaning, we offer a wide range of janitorial services for both homes and businesses:
Office Cleaning: We know a clean office helps your team stay focused and productive. Our office cleaning services include dusting, vacuuming, floor care, waste removal, and more.
Commercial Cleaning: Whether it’s a small retail shop or a large office building, we make sure your commercial property looks its best.
Residential Cleaning: For busy homeowners, our cleaning service is a great way to maintain a clean and comfortable home without the hassle.
Carpet and Floor Cleaning: Our specialized cleaning methods for carpets and floors help restore their appearance and keep them looking like new.
Post-Construction Cleaning: If you’ve recently renovated or built something new, we provide post-construction cleaning to remove dust, debris, and leftover materials.
Why Gloria Cleaning is the Best Choice for You
We believe in experience, expertise, trustworthiness, and reliability. Here’s what makes us the best:
Proven Results: Our clients love our services, and we keep getting better based on their feedback. Check out our client reviews to see why people trust us for their cleaning needs.
Up-to-Date Cleaning Methods: We keep up with the latest cleaning technologies to make sure we provide the best service. We use the newest equipment and methods to get the job done right.
Affordable Prices: We offer excellent cleaning services at prices that work for you. We want you to get the best value for your money without cutting corners.
Why Janitorial Services Are Important for Your Business
For more information about why professional cleaning services are so important, I recommend checking out this article on The Benefits of Hiring a Janitorial Service to learn how clean spaces benefit businesses.
Get in Touch Today!
Ready to experience the Best Janitorial Cleaning Services in Bronx? Don’t wait—contact us today! Whether you need regular office cleaning, deep cleaning, or a one-time service, Gloria Cleaning is here to help.
Reach out today to get a personalized cleaning plan that fits your needs and budget!
As a cleaning expert, I can tell you that floor polishing is one of the most important parts of keeping your home clean and well-kept. While we often focus on vacuuming and wiping surfaces, polishing the floors should never be skipped. Whether you have wood, marble, or tile floors, proper polishing can make your floors look great and last longer. In this blog, I’ll explain why floor polishing is essential for your home cleaning routine.
1. Makes Your Floors Look Great
There’s nothing like walking into a home with shiny, polished floors. Polishing restores the natural beauty of your floors and removes any dullness. Regular polishing helps maintain the color and texture of your floors, keeping them looking fresh and new for years.
2. Protects Your Floors and Makes Them Last Longer
Floor polishing isn’t just for looks—it helps protect your floors too. Over time, dust, dirt, and even shoes can scratch and damage the surface of your floors. This can make your floors look worn out and lead to expensive repairs. Polishing adds a protective layer that shields the surface from damage, so your floors stay strong and last longer.
3. Keeps Your Home Cleaner and Healthier
Polished floors are much easier to clean. With a smooth surface, dirt and dust are less likely to stick, which makes cleaning easier and quicker. If you have kids or pets, keeping your floors polished is especially important because it helps prevent the buildup of allergens and bacteria. This keeps your home healthier and safer for your family.
4. Brightens Up Your Home
Did you know that polished floors can make your home feel brighter? The shine of the floors reflects light, making rooms look lighter and more spacious. This is especially helpful in rooms with little natural light. Polishing your floors helps to brighten up the space, so you don’t need to rely as much on lights during the day.
5. Stops Further Damage to Your Floors
If you’ve spent money on high-quality floors, you’ll want to take care of them. Polishing your floors not only makes them look good but also protects them from daily wear and tear. It fills in minor scratches and gives your floors a more even look, preventing further damage from happening.
6. Eco-Friendly Options for Cleaner Floors
Today, many floor polishes are made with eco-friendly ingredients, so they’re safer for your home and the environment. By using these natural products, you’re not just cleaning your floors—you’re also helping the planet. As a cleaning expert, I always recommend using products that are safe and gentle on both your floors and the environment.
Conclusion: Why You Should Polish Your Floors Regularly
Floor polishing is an important part of your house cleaning routine. It makes your floors look better and helps protect them and keeps your home healthier. Whether you want shiny floors, longer-lasting floors, or a cleaner home, regular floor polishing should be part of your cleaning schedule. At Gloria Cleaning, we understand how important floor care is and are here to provide the best cleaning services to keep your home in top shape.
To learn more about our services and how we can help you with floor care, visit our services page.
Whether you’re moving into a new Bronx apartment or getting ready to move out, deep cleaning is something you don’t want to skip. I’m here to walk you through the steps of deep cleaning your Bronx apartment, so your new home is fresh and ready or your old apartment is spotless for the next person. Follow this guide to make sure your space is cleaned right, without missing any important areas.
Why Deep Cleaning is Important Before Moving In or Out
Deep cleaning might feel like a lot of work, but it’s so worth it. Here’s why:
Healthier Home: Deep cleaning helps get rid of dust, dirt, and germs, making your space cleaner and safer.
Leave a Good Impression: A clean apartment shows respect to the next person or landlord, especially when moving out.
Catch Problems Early: Deep cleaning gives you a chance to spot any damage or areas that need fixing before moving in.
Let’s get into the step-by-step process of how to deep clean your Bronx apartment!
Step 1: Gather Your Cleaning Supplies
Before you start, make sure you have the right cleaning supplies. Here’s what you’ll need:
All-purpose cleaner
Disinfectant spray
Glass cleaner
Microfiber cloths
Broom, mop, and vacuum
Scrub brushes and sponges
Cleaning gloves
Bucket with warm water and soap
It’s a good idea to go for eco-friendly cleaning products when you can. Brands like Seventh Generation and Method offer great options that work well and are better for the environment.
Step 2: Start with High-Traffic Areas
When cleaning, begin with the areas that get the most use, like:
Kitchen: Clean the fridge, oven, microwave, and countertops.
Bathrooms: Scrub the sink, toilet, shower, and tiles.
Living Room and Bedrooms: Dust everything, including light fixtures and baseboards. Clean any furniture that’s staying.
Step 3: Clean Behind and Under Furniture
Don’t skip cleaning the spaces behind and under your furniture. It’s easy to forget about these areas, but they tend to collect a lot of dust and dirt. Here’s what to do:
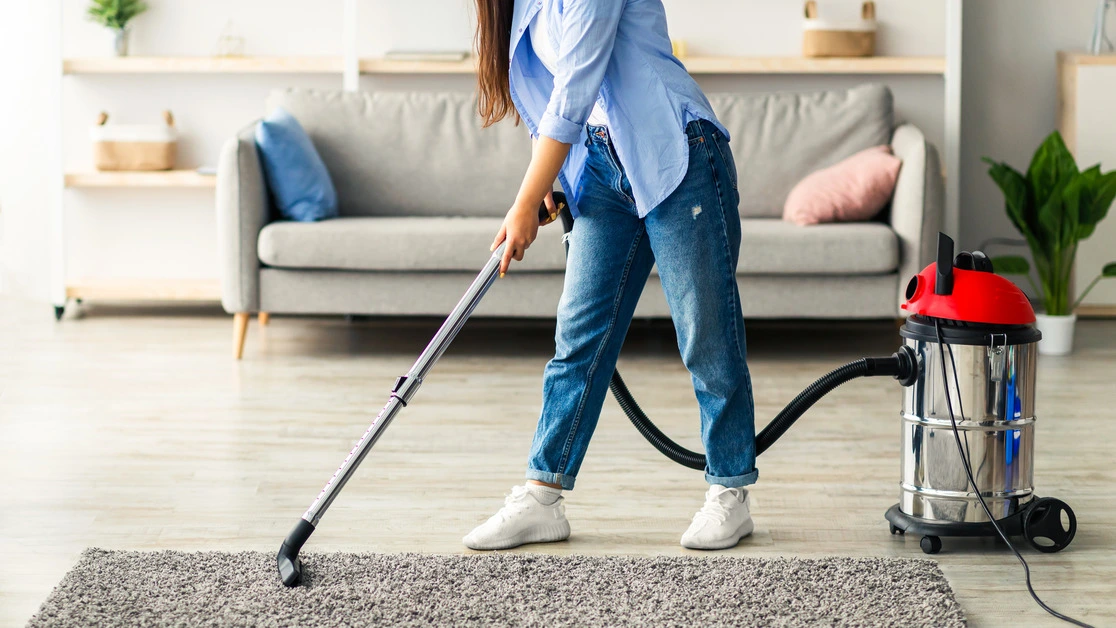
Vacuum the carpets or rugs thoroughly to get rid of dust and hair.
Step 4: Clean the Floors
The floors are one of the first things people notice when they walk into your apartment, so make sure they’re clean:
Wooden Floors: Sweep or vacuum first, then mop with a wood-friendly cleaner.
Carpets: Vacuum well. If you want a deeper clean, consider renting a carpet cleaner or calling in professionals for carpet cleaning.
Tile or Laminate Floors: Sweep, then mop. Pay extra attention to the grout lines.
Step 5: Clean the Windows and Walls
Don’t forget the windows and walls! They may not seem like a big deal, but they make a big difference:
Windows: Clean them with glass cleaner or a simple mix of vinegar and water.
Walls: Wipe down any spots or marks on the walls using a damp cloth. For tougher stains, use a gentle cleaning solution.
Step 6: Add the Finishing Touches
Once the major cleaning is done, it’s time for the finishing touches:
Air Fresheners: A fresh scent makes the apartment feel even cleaner and more inviting.
Check for Missed Spots: Walk through your apartment and look for any areas that may need another quick cleaning.
Why Hire a Professional Cleaning Service?
Cleaning your Bronx apartment yourself is totally possible, but if you want to save time and effort, hiring a professional cleaning service can make things a lot easier. At Gloria Cleaning, we specialize in move-in and move-out cleaning. We’ll make sure every corner is spotless and your apartment is ready for the next chapter. Our team’s attention to detail ensures you get the best results, so you don’t have to worry about missing anything important.
If you’re too busy to clean or just want to make sure it’s done right, don’t hesitate to call Gloria Cleaning. You can easily book our services online or contact us directly.
Conclusion
By following this simple guide, you can deep clean your Bronx apartment before moving in or out and make the space look amazing. A clean apartment is not only healthier, but it leaves a great impression too. If you need help, remember that Gloria Cleaning is here to do the job for you. We’re just a phone call or click away.
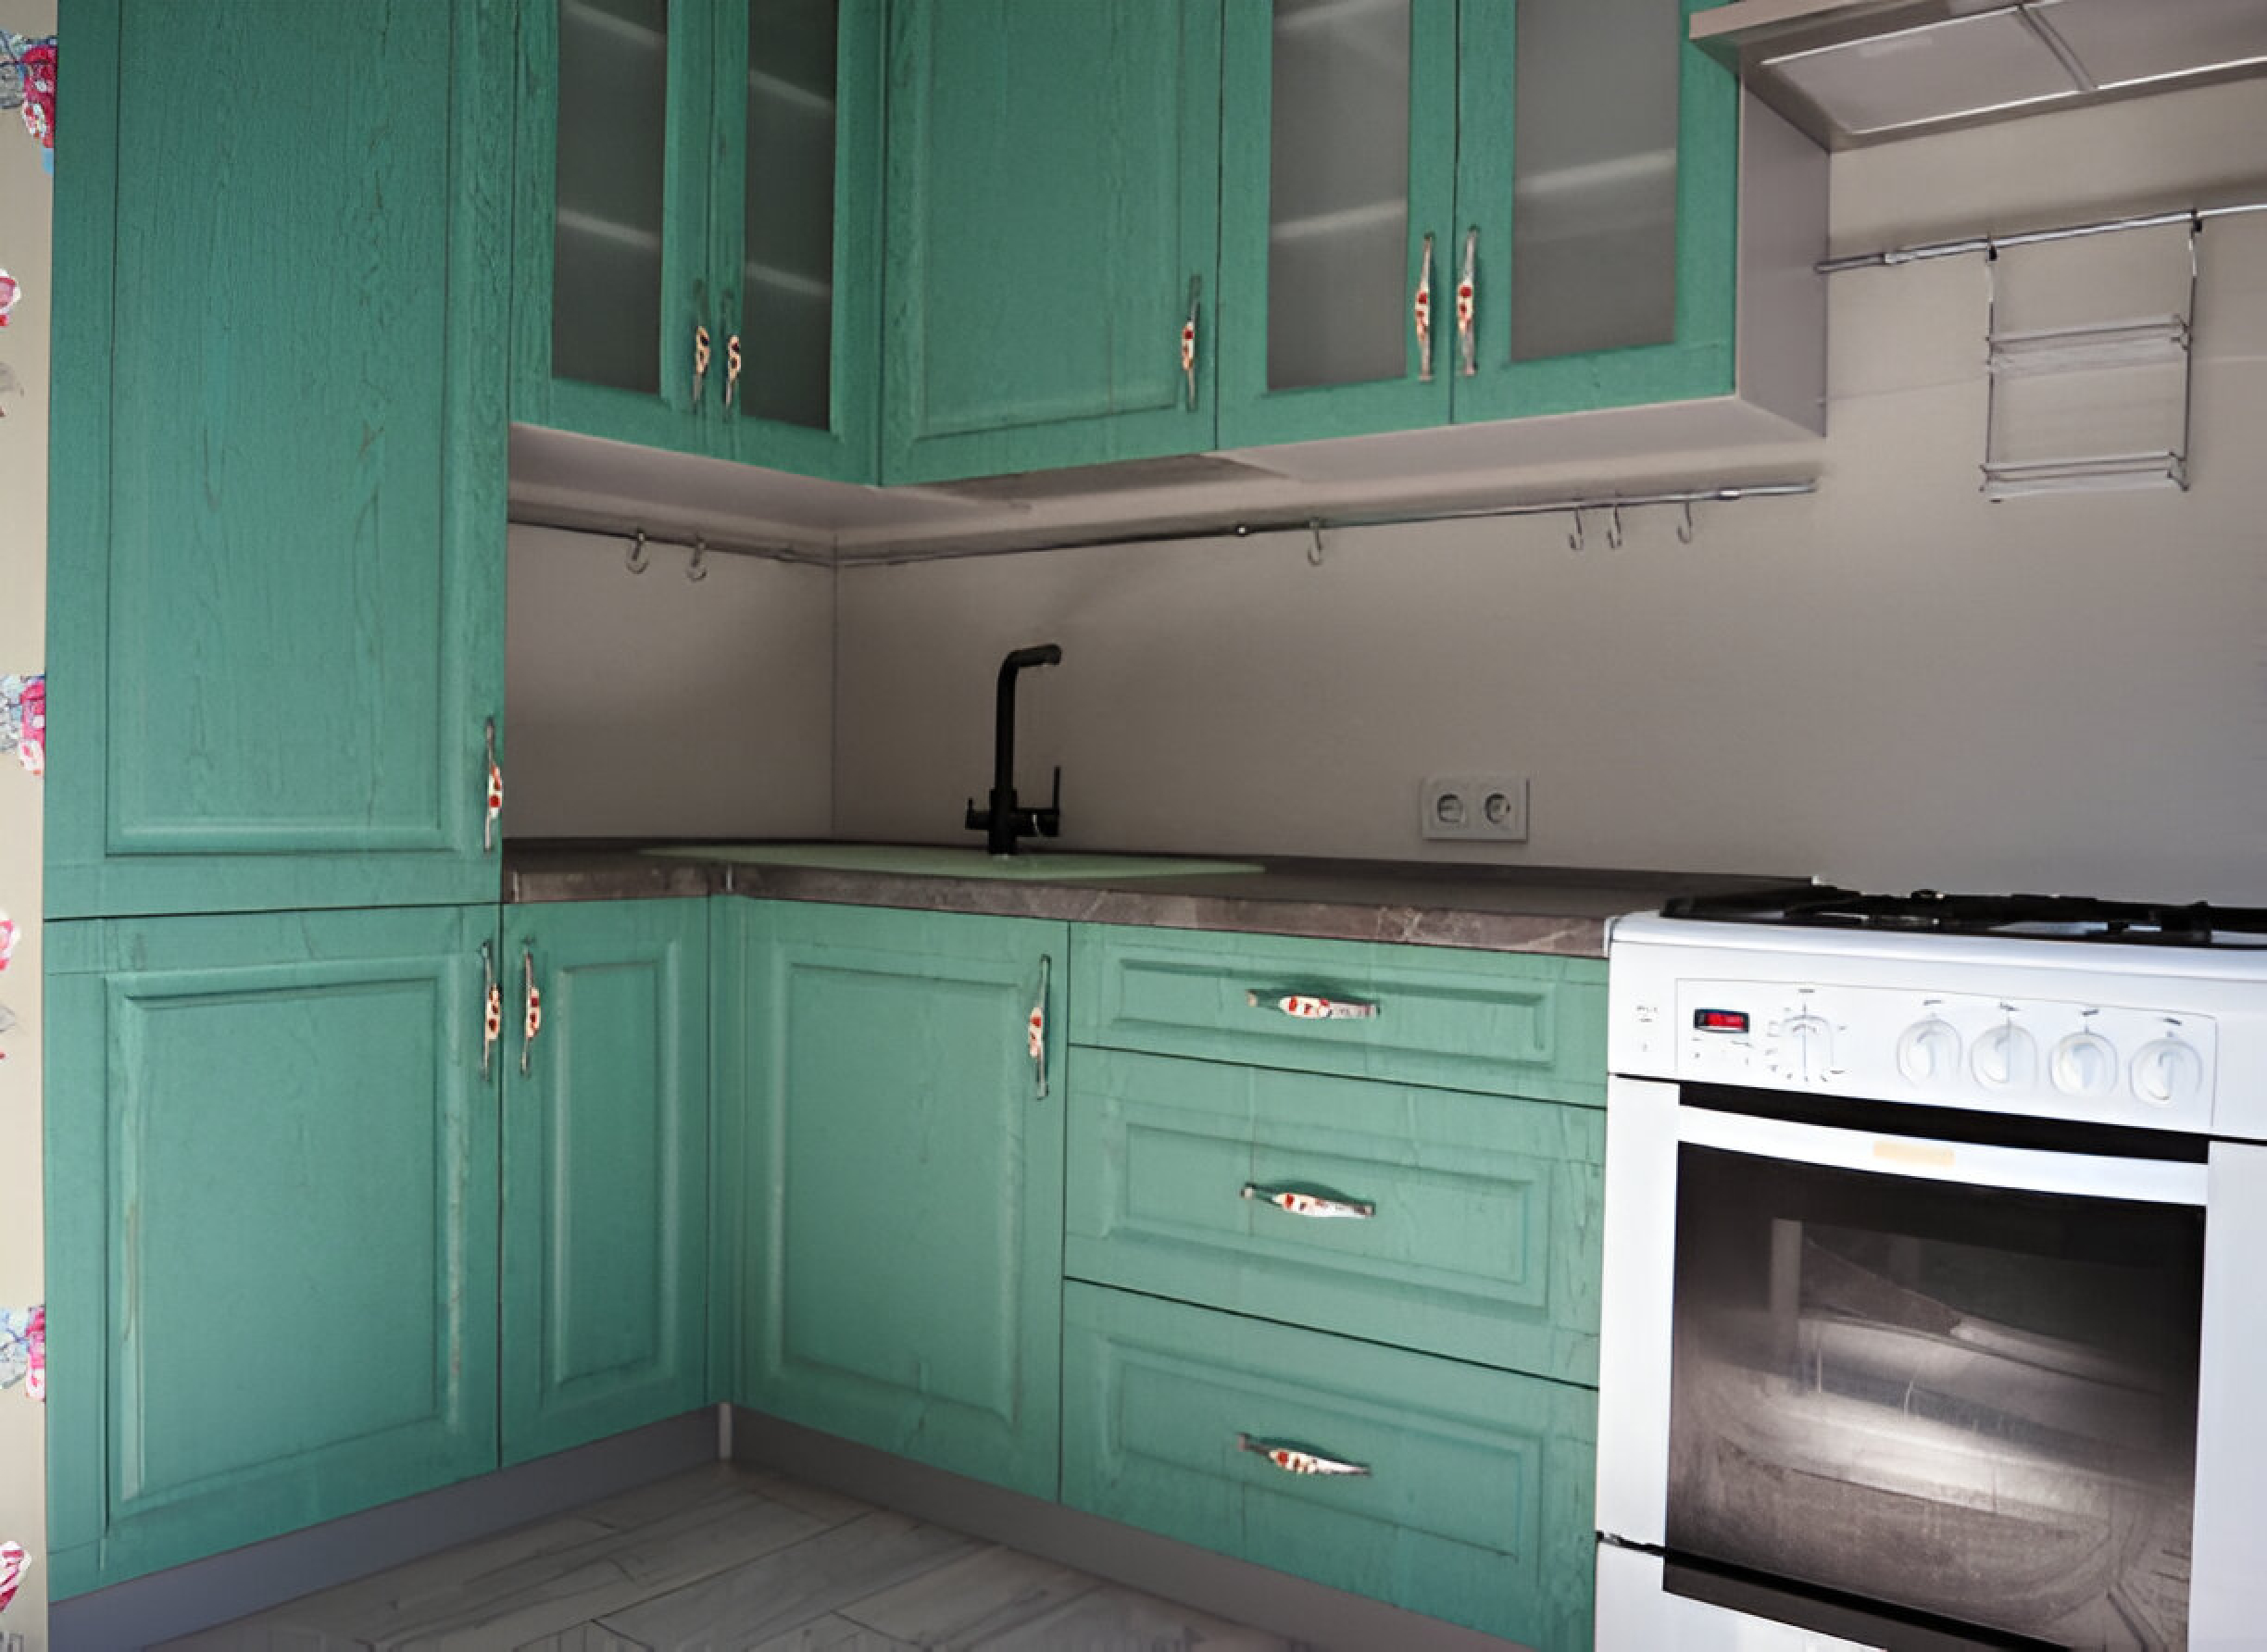
I know how important it is to prepare kitchen cabinets properly before painting. Skipping cleaning can make your paint job look uneven or peel off quickly. Let me take you through a simple and easy process to clean your cabinets before painting. Let’s get started!
Why You Should Clean Cabinets Before Painting
Kitchen cabinets gather grease, dust, and grime over time, especially in cooking areas. Without proper cleaning:
The paint won’t stick properly.
The finish will look uneven.
Stains can show through the paint.
Cleaning your cabinets ensures your paint job will last longer and look great. If cleaning feels like too much work, you can check out our Residential Cleaning Services.
Remove all cabinet handles, knobs, and other hardware. Empty the cabinets so you can reach every corner. Keep the hardware in a safe spot.
Step 2: Dust the Cabinets
Use a dry cloth to remove any loose dust and dirt. This step stops dust from mixing with the cleaning solution.
Step 3: Make Your Cleaning Solution
Mix warm water with dish soap or a degreaser in a bucket. Add a bit of vinegar for extra cleaning power. For stubborn stains, make a paste using baking soda and water.
Step 4: Scrub the Cabinets
Dip a sponge into the cleaning solution, wring it out, and scrub the cabinet surfaces. Focus on areas near handles and edges where grease builds up. Use a soft brush to clean corners and crevices.
Step 5: Rinse With Water
Wipe the cabinets with a clean, damp sponge to remove any soap or cleaner. Make sure all residue is gone so the paint will stick better.
Step 6: Dry the Cabinets
Use a dry cloth to wipe down the cabinets. Make sure they’re completely dry before you move on to sanding or painting. Moisture can ruin the paint job.
Cleaning kitchen cabinets before painting is essential for a smooth, professional-looking finish. By following these steps, you’ll save time and ensure a long-lasting paint job.
For more cleaning help or expert services, visit Gloria Cleaning. We’re here to make your home look its best!
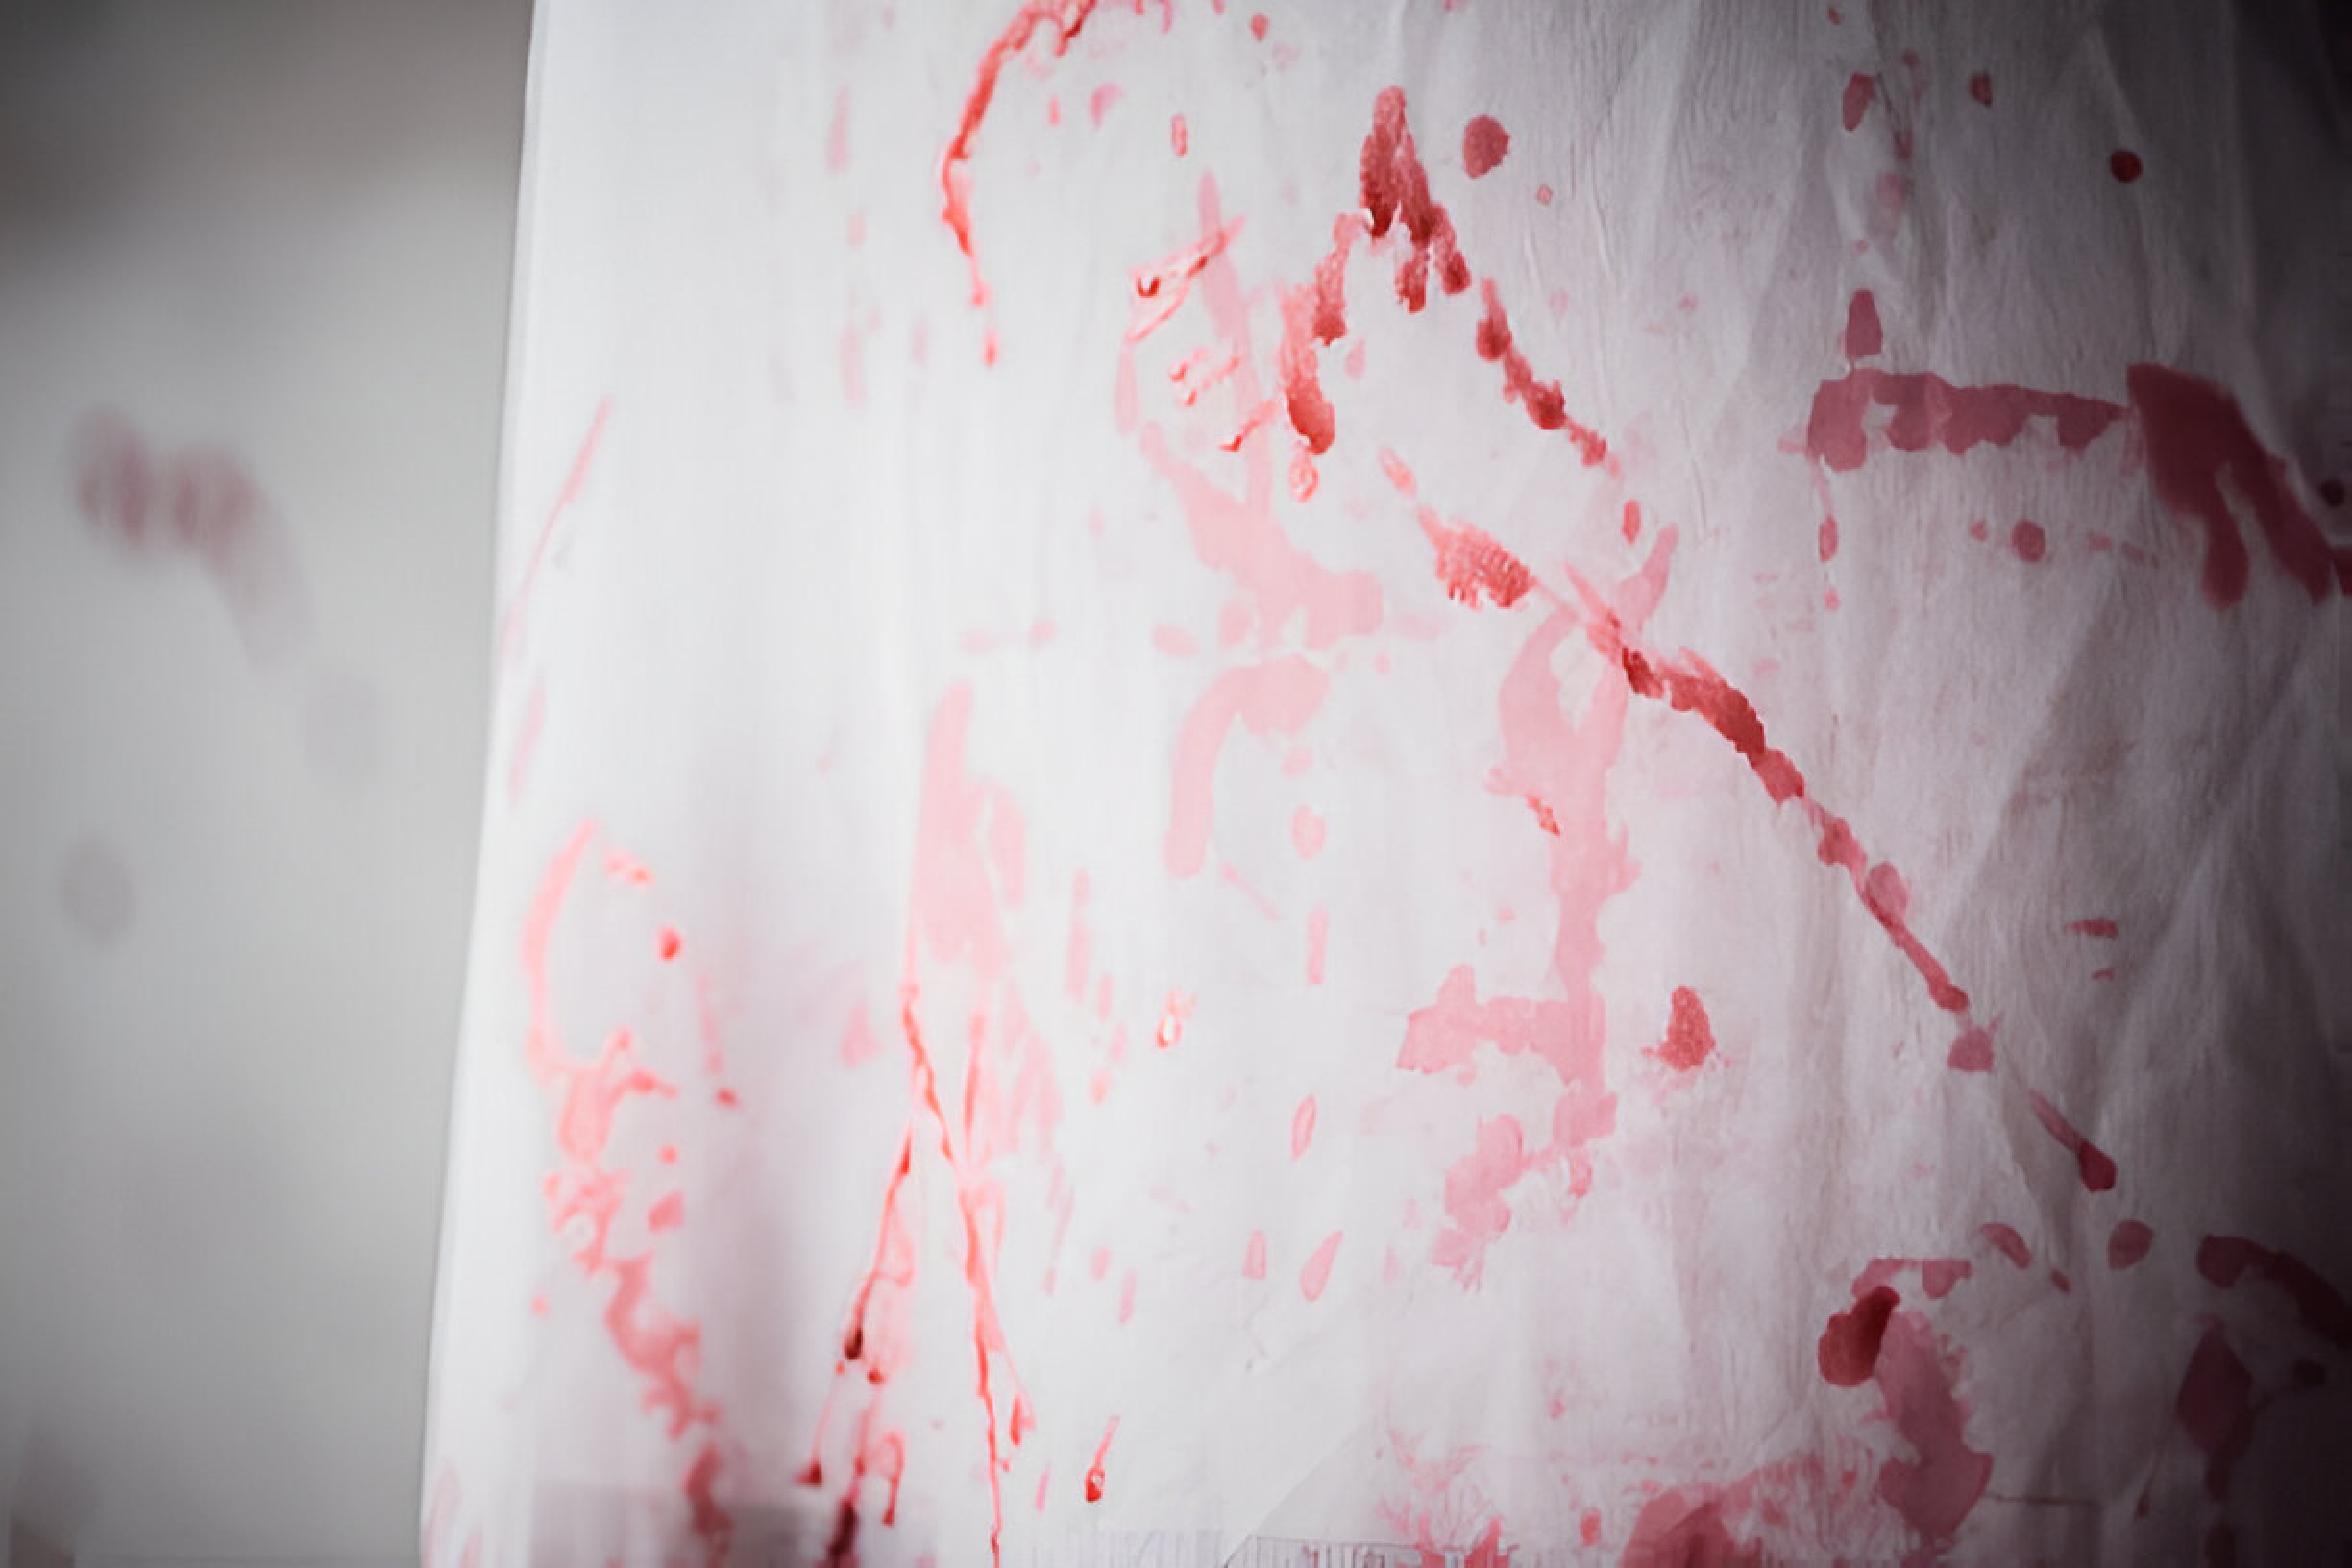
Accidents happen, and cleaning blood off a mattress might seem tricky. Don’t worry—I’ve got you covered! With simple steps and tools, you can clean your mattress easily. Let’s get started.
Step 1: Act Fast
The faster you deal with the stain, the easier it will be to remove. Blood can soak in quickly, so act fast. If the blood is fresh, blot (don’t rub) the spot with a clean cloth or paper towel to absorb it.
Step 2: Gather What You Need
You don’t need special cleaners for this. Here’s what you’ll need:
Cold water (hot water sets stains).
Mild dish soap or laundry detergent.
Baking soda.
White vinegar.
Hydrogen peroxide (for tough stains).
A spray bottle.
Clean towels or rags.
Step 3: Start with Cold Water
Use a clean cloth dampened with cold water to dab the stain gently. Don’t soak the mattress too much, as too much water can lead to mold. This helps lift some of the blood from the fabric.
Step 4: Make a Soap Solution
Mix a teaspoon of liquid dish soap with two cups of cold water. Spray this solution on the stain or apply it with a cloth. Blot the stain gently until it fades. Always work from the edges to the center to avoid spreading.
Step 5: Use Baking Soda and Vinegar
Sprinkle baking soda on the stain and spray a little white vinegar over it. You’ll see some fizzing—that’s a good sign. Let it sit for 15-20 minutes. Wipe it away with a damp cloth.
Step 6: Try Hydrogen Peroxide (If Needed)
For tough stains, apply a small amount of hydrogen peroxide directly on the spot. It will bubble and break down the blood. Dab it with a damp cloth afterward. Don’t use too much, as it can bleach fabrics.
Step 7: Dry the Mattress
After cleaning, use clean towels to absorb extra moisture. Place the mattress in a well-ventilated spot or use a fan to dry it. Make sure it’s completely dry before using it again.
Extra Tips
Test First: Test any cleaner on a small hidden area first.
Protect Your Mattress: Use a waterproof mattress protector to prevent future stains.
You can’t always avoid accidents, but being prepared helps. Keep a cleaning kit ready with these supplies. A mattress protector is also a great way to stop stains from reaching the mattress.
Why Choose Gloria Cleaning?
At Gloria Cleaning, I make sure your space stays spotless. With years of experience, I handle tough cleaning jobs easily. If you need help, just give me a call.
By following these simple steps, you can clean blood stains and keep your mattress in great shape. If you’re unsure, let Gloria Cleaning take care of it!
As someone who runs a cleaning business, I often get asked, “Can I use a carpet cleaner to clean my mattress?” The answer is yes, but there are some important details to consider. Let me explain how you can do it safely and effectively.
Why Should You Clean Your Mattress?
Your mattress gets dirty over time from dust, sweat, dead skin, and even dust mites. Cleaning it regularly helps:
Make your bedroom air cleaner.
Keep your mattress in good shape for longer.
Create a healthier place to sleep.
How Does a Carpet Cleaner Work?
Carpet cleaners use water, cleaning solution, and suction to remove dirt and stains. These machines spray a cleaning solution onto the surface and then suck up the dirty water. While they’re made for carpets, you can use them on mattresses with some care.
Using a Carpet Cleaner on a Mattress
You can use a carpet cleaner on a mattress, but you need to do it the right way to avoid problems. Here’s how:
Step 1: Pick the Right Cleaning Solution
Choose a cleaning solution that’s safe for fabrics. Avoid strong chemicals that could damage your mattress or irritate your skin.
Step 2: Vacuum the Mattress First
Vacuum your mattress to remove dust, hair, and crumbs. This makes it easier to clean and gets better results.
Step 3: Test a Small Spot First
Before cleaning the whole mattress, test the cleaner on a small hidden area to make sure it doesn’t cause discoloration or damage.
Step 4: Use the Upholstery Tool
Most carpet cleaners come with a tool for furniture. This tool is gentler and better for mattresses. Use it to clean the surface evenly.
Step 5: Don’t Soak the Mattress
Mattresses soak up water easily. Too much water can cause mold or mildew. Use just enough water and suction to clean without over-wetting.
Step 6: Let It Dry Completely
Dry the mattress thoroughly before putting sheets back on. Open windows or use fans to speed up the drying process.
When Should You Avoid Using a Carpet Cleaner?
A carpet cleaner isn’t right for every mattress. Avoid using one if:
You Have a Memory Foam Mattress: These are delicate and can’t handle too much water.
Your Mattress Has a Fixed Cover: Non-removable covers might not dry properly, leading to smells or mildew.
If you’re unsure, check your mattress’s care instructions or call a professional cleaning service like Gloria Cleaning.
Other Ways to Clean a Mattress
If a carpet cleaner isn’t the best option, try these methods:
Vacuuming: Regular vacuuming keeps your mattress free of dust and allergens.
Spot Cleaning: Use a gentle detergent and a damp cloth for small stains.
Baking Soda: Sprinkle baking soda on the mattress, leave it for a few hours, then vacuum it up to get rid of odors.
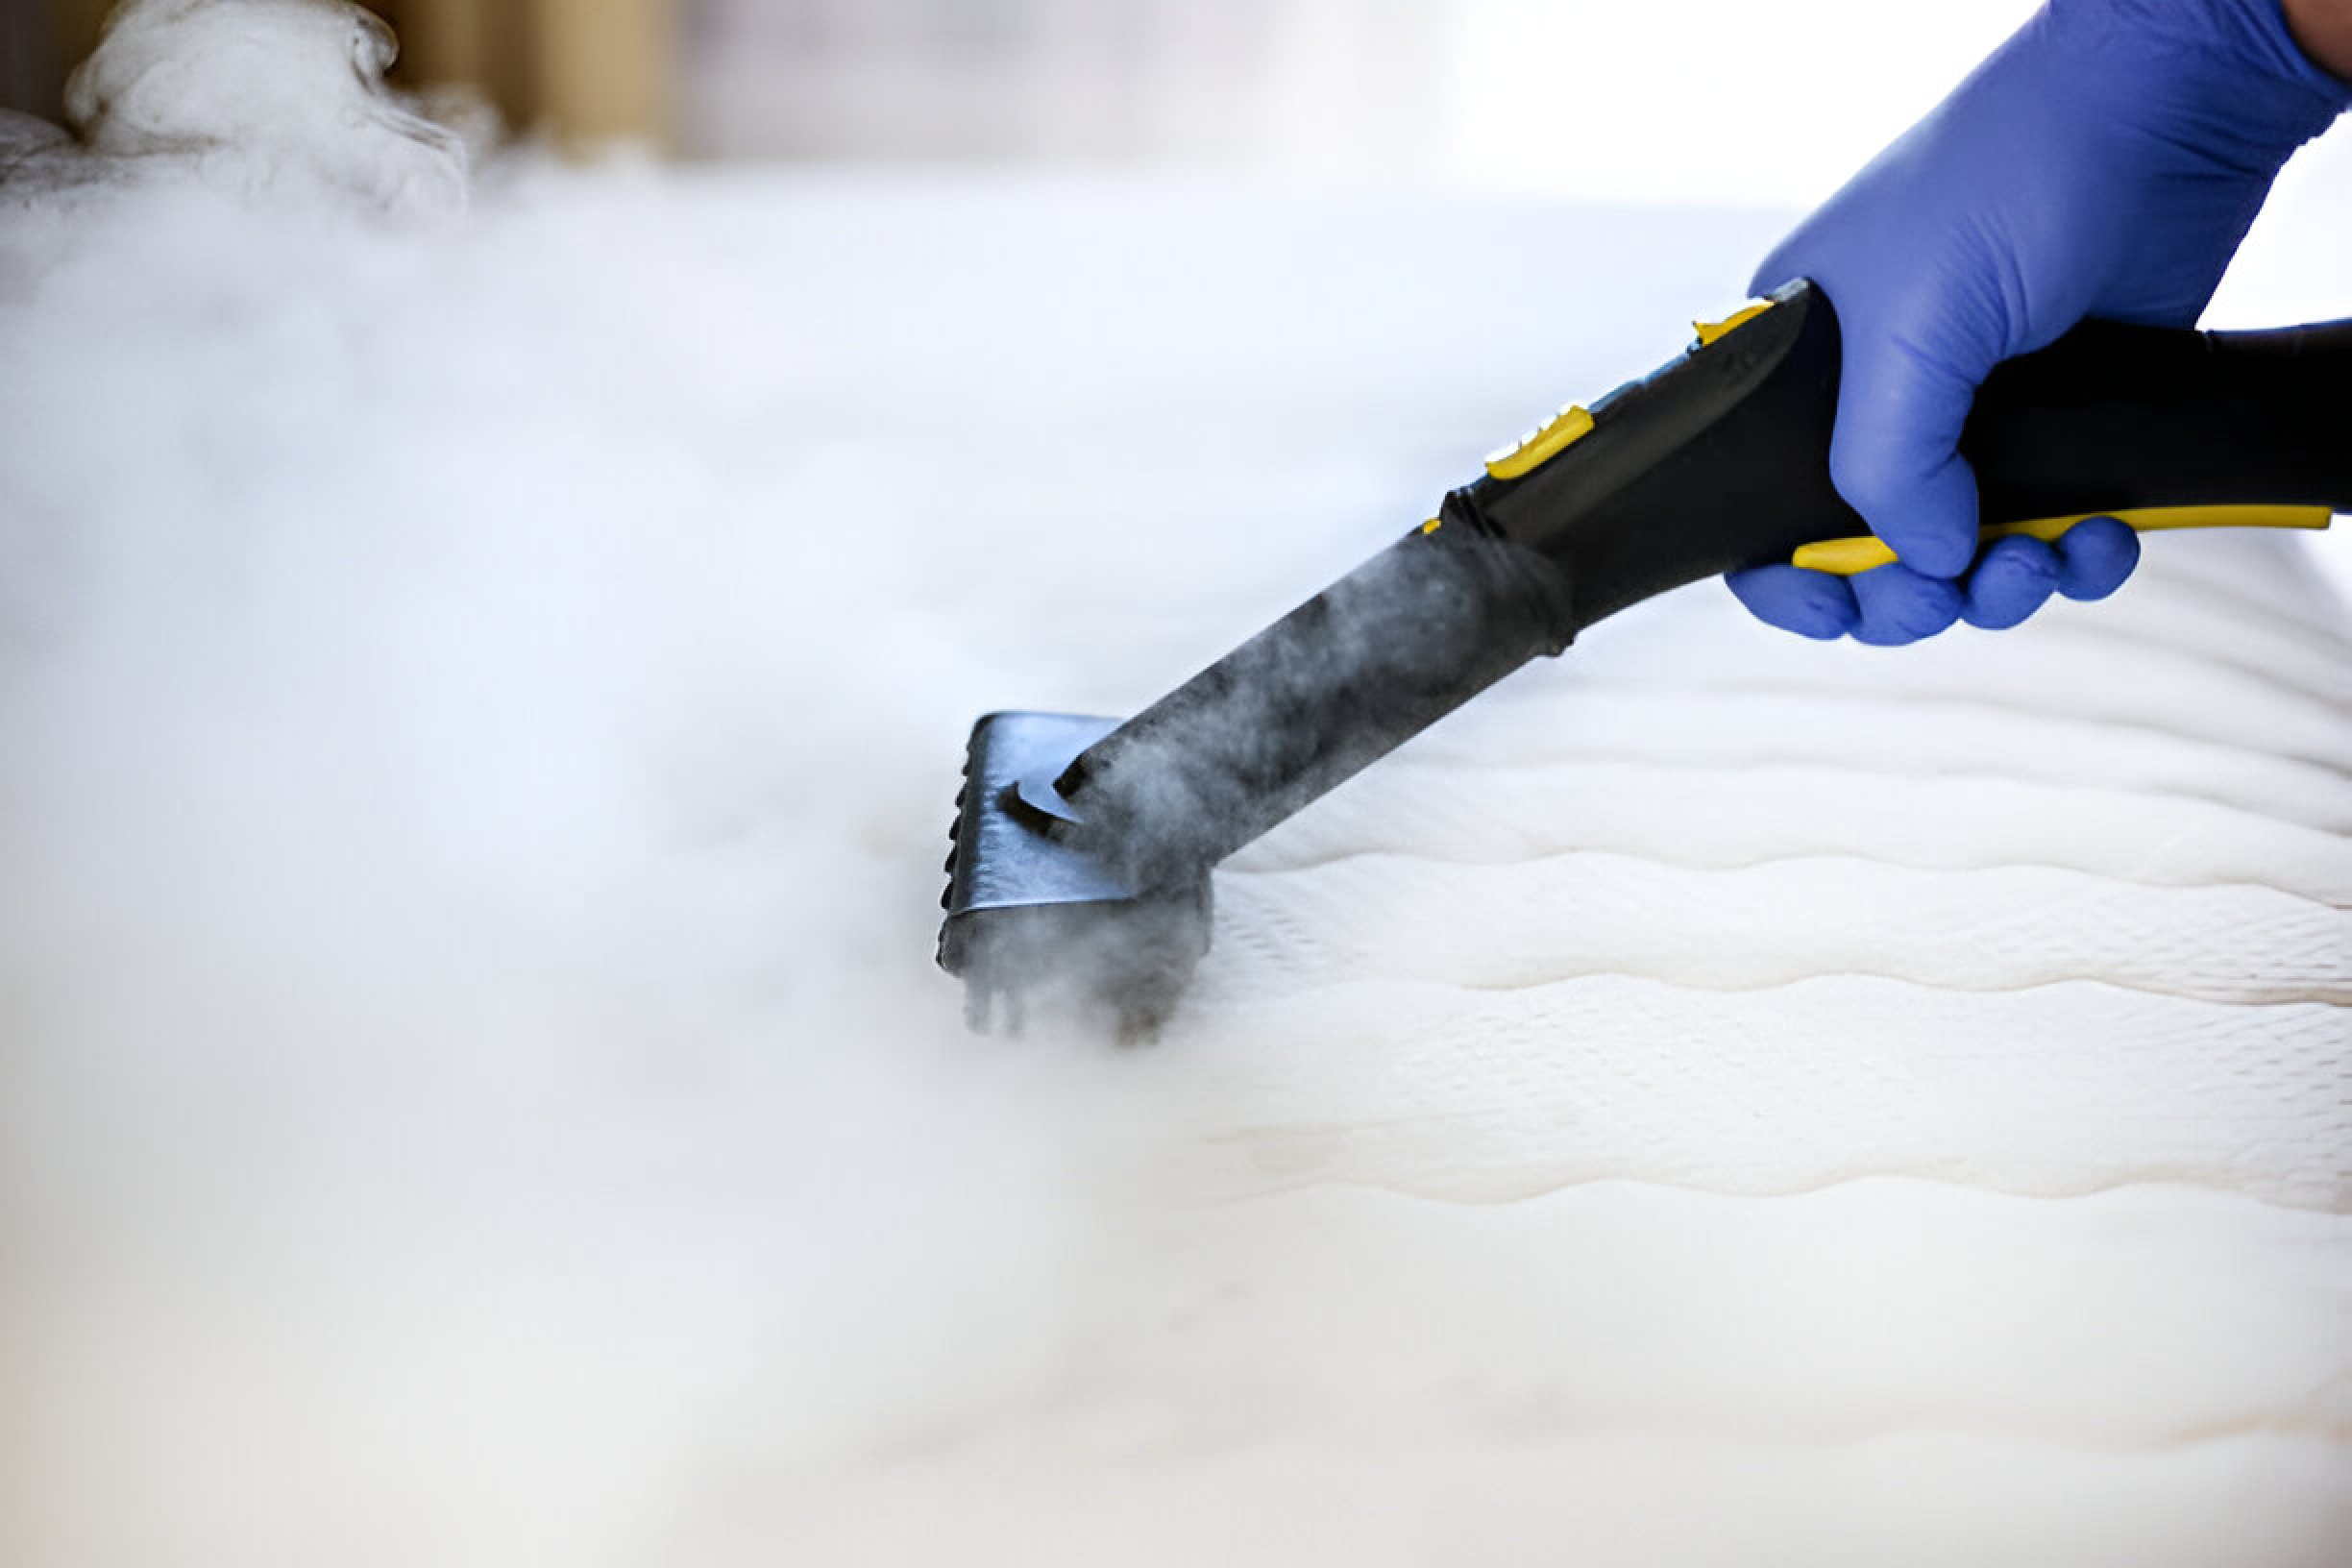
Steam Cleaning: A steam cleaner can sanitize your mattress without soaking it.
Let the Professionals Handle It
For the best results, hire a professional cleaning service like Gloria Cleaning. We know how to deep clean your mattress safely and thoroughly. Visit us at Gloria Cleaning to learn more.
Final Thoughts
So, can you use a carpet cleaner to clean your mattress? Yes, but you need to be careful. Follow these steps to clean your mattress without damaging it. Regular cleaning helps you sleep better and keeps your mattress in good condition.
If you’re not sure or want a deeper clean, let the professionals take care of it. Check out Gloria Cleaning for expert help!