
Keeping your fan clean is important for better air flow and to keep your home free of dust. In this guide, I will show you how to clean both ceiling fans and oscillating fans in a few easy steps. Let’s get started!
Why Cleaning Your Fan is Important
Cleaning your fan is not just about making it look nice. Here are some reasons why you should clean it regularly:
- Better Air Flow: Dust can block air from moving properly, making the fan less effective.
- Healthier Air: Dust and allergens in the fan can spread around the room, causing allergies.
- Fan Longevity: Cleaning your fan helps it last longer and work better.
Now, let’s go over how to clean your fan the right way.
How to Clean a Ceiling Fan
Step 1: Turn Off the Power
First, always make sure your fan is off. It’s safer to turn off the power at the wall switch or circuit breaker before you start cleaning.
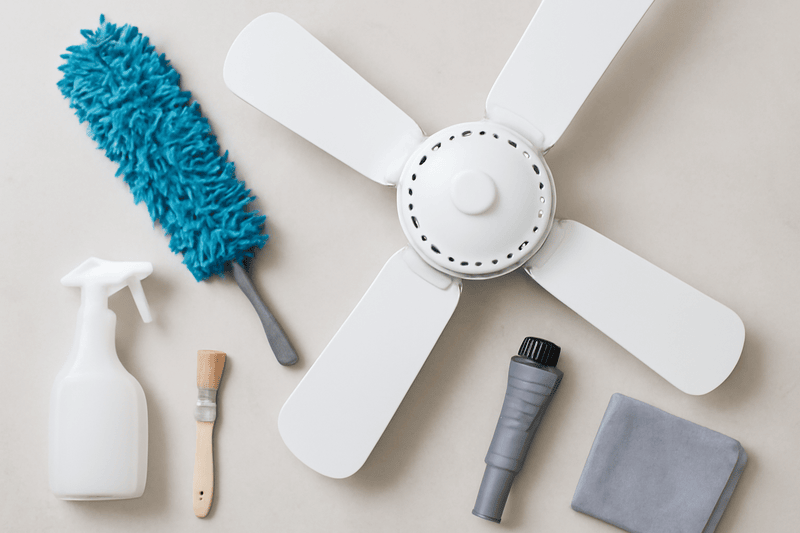
Step 2: Get Your Cleaning Supplies
Here’s what you’ll need:
- A step stool or ladder
- A microfiber cloth or duster
- A vacuum cleaner with a brush attachment
- A gentle cleaner or just water and dish soap
- A soft brush or paintbrush
Step 3: Dust the Fan Blades
Use your microfiber cloth or duster to wipe the fan blades. If there’s a lot of dust, lightly dampen the cloth with water. Be careful not to make it too wet.
If the dust is stubborn, use a soft brush or paintbrush to clean between the blades.
Step 4: Clean the Motor and Other Parts
Now, use your vacuum with a brush attachment to clean the motor and ceiling parts. Fans can collect a lot of dust around the motor, so it’s important to get in there.
Step 5: Wipe the Blades Again
After dusting, wipe the fan blades again with a dry cloth to remove any leftover dust and moisture.
Step 6: Final Touch
To make the fan blades shiny, I like to use a dry microfiber cloth to give them a quick buff.
How to Clean an Oscillating Fan
Cleaning an oscillating fan is even easier. Here’s how I do it:
Step 1: Unplug the Fan
Make sure the fan is unplugged before you start cleaning.
Step 2: Take the Fan Apart
Remove the front grill and the fan blades. Most oscillating fans have easy-to-remove parts, so this should be simple.
Step 3: Clean the Blades and Grill
Use a damp cloth to wipe the fan blades and grill. You can also mix water and dish soap for a deeper clean. Wipe all parts carefully.
Step 4: Vacuum the Base
Don’t forget to clean the fan’s base. Use your vacuum with the brush attachment to remove dust and dirt from the fan’s stand.
Step 5: Put the Fan Back Together
Once everything is clean and dry, put the fan back together. Now, it’s ready to use!
Tips to Keep Your Fan Clean Longer
- Cover the Fan: If you’re not using your ceiling fan, cover it with a cloth to prevent dust from collecting.
- Regular Dusting: Dust your fan once a month to keep it clean.
- Check the Fan Blades: After cleaning, check that the blades are even. Misaligned blades can affect how well your fan works.
Conclusion
Cleaning your fan is easy and can make a big difference in your home. Not only will your fan work better, but you’ll also enjoy cleaner air. If you don’t have the time to clean your fan, let me help! As a professional cleaner, I offer services to keep your home dust-free and fresh.
Read about How to Clean a Fan Without Taking It Apart